Hi there, today I want to share some of the steps to do a CGI dna strand .
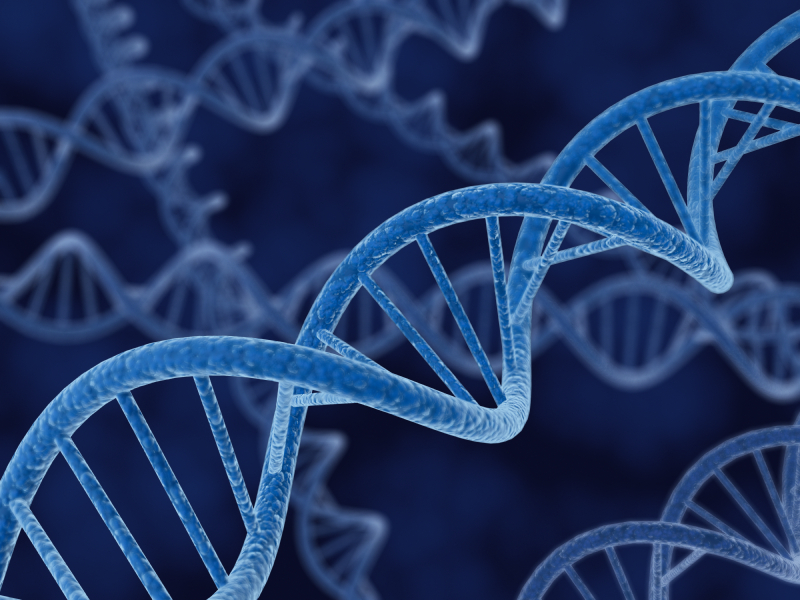
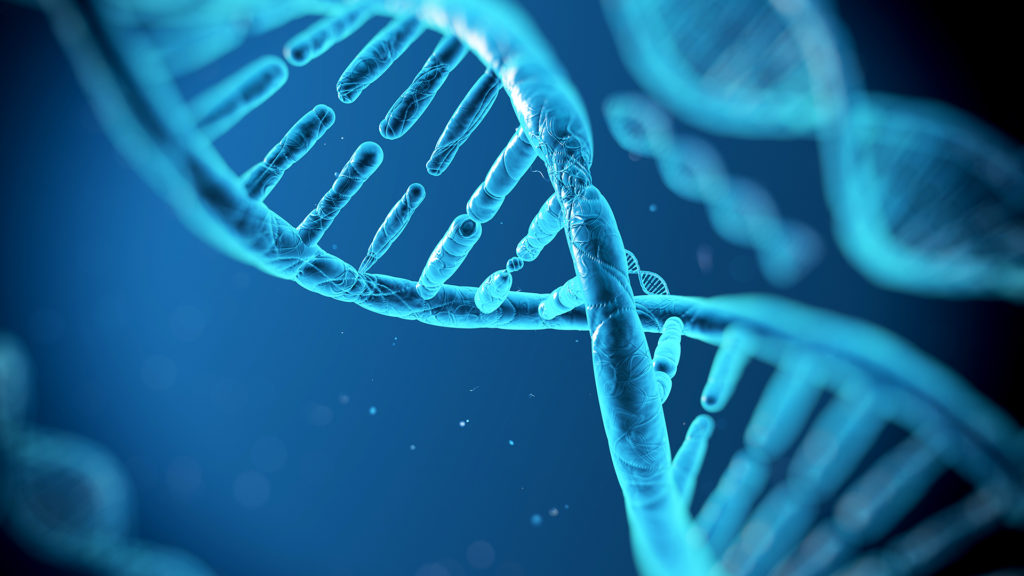
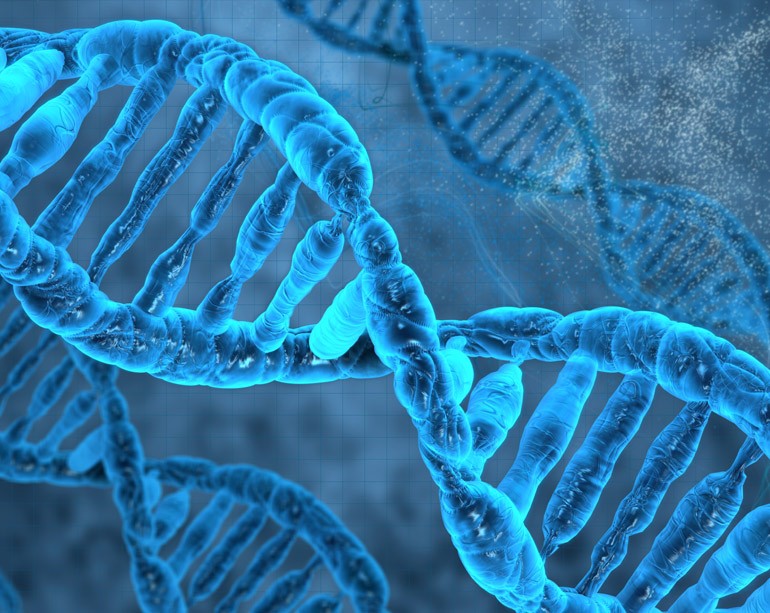
First of all searching for references is the first step to start with any 3d model creation , much more references you found and much clear you know what to do .
![]()
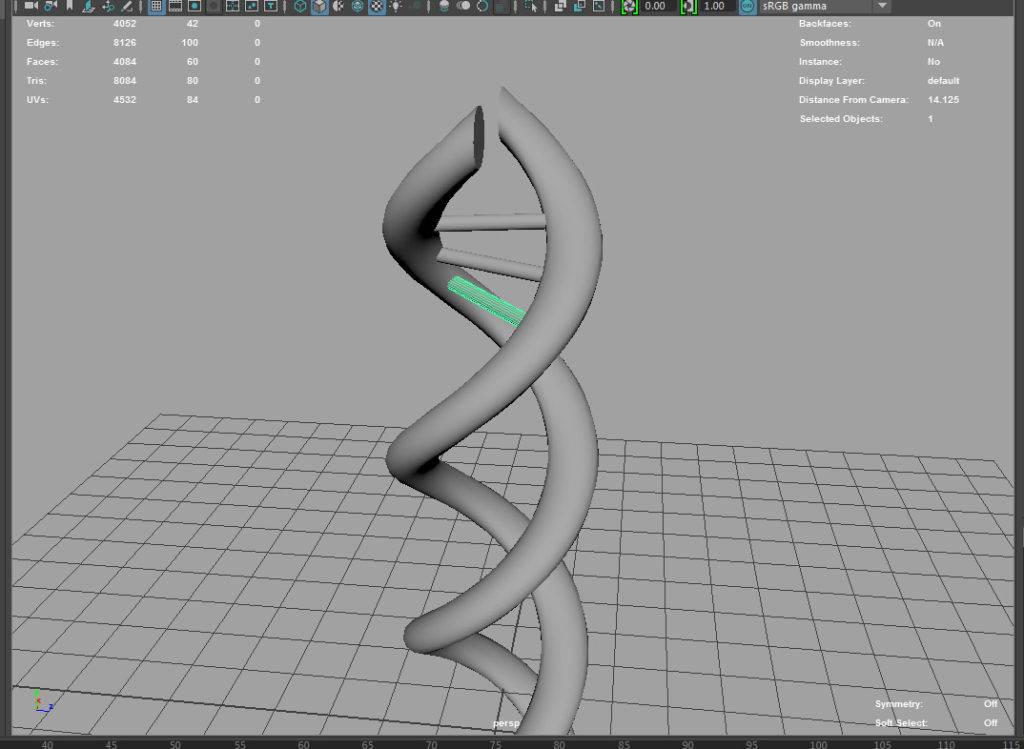
I started creating a low poly version of the strand creating Cylinder and Helix to fit the right shape of the strand.
After I finished to tweak with the helix shape and cylinder placement I sent to Mudbox (as FBX format) and I retopologize and create UV maps for all the scene object.
I started to sculpting details, I added subdivion surface and I used the sculpt tool with a stamp that add some interesting noise on surface .
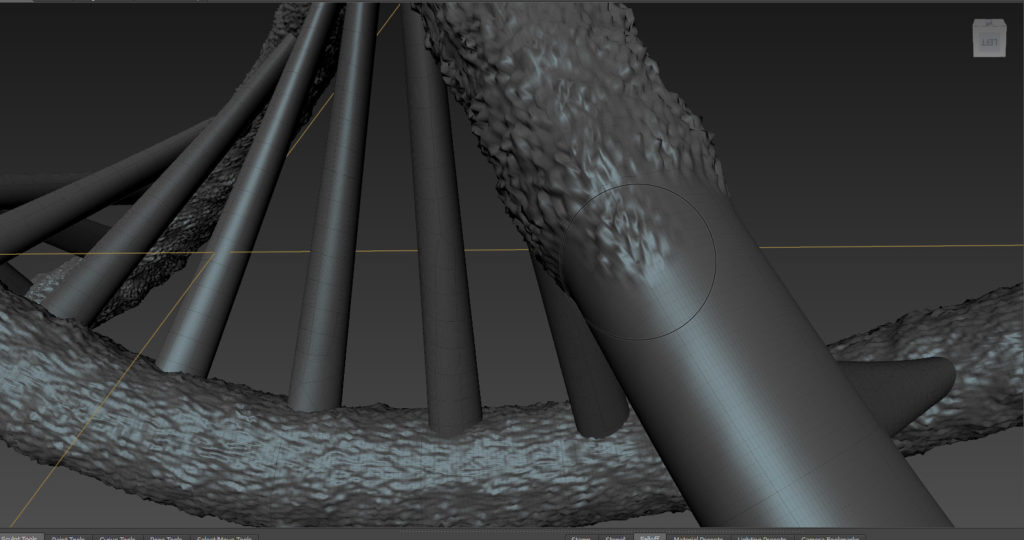
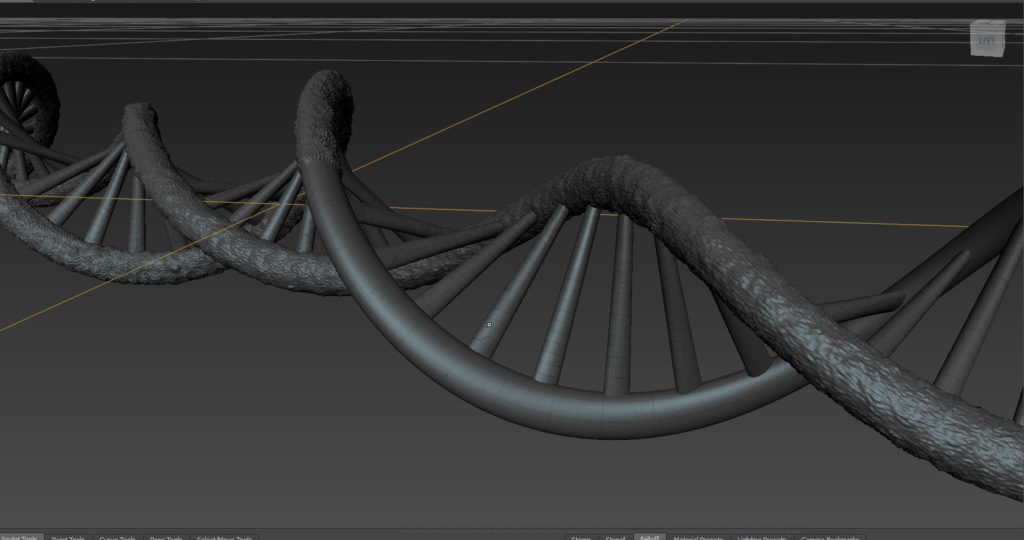
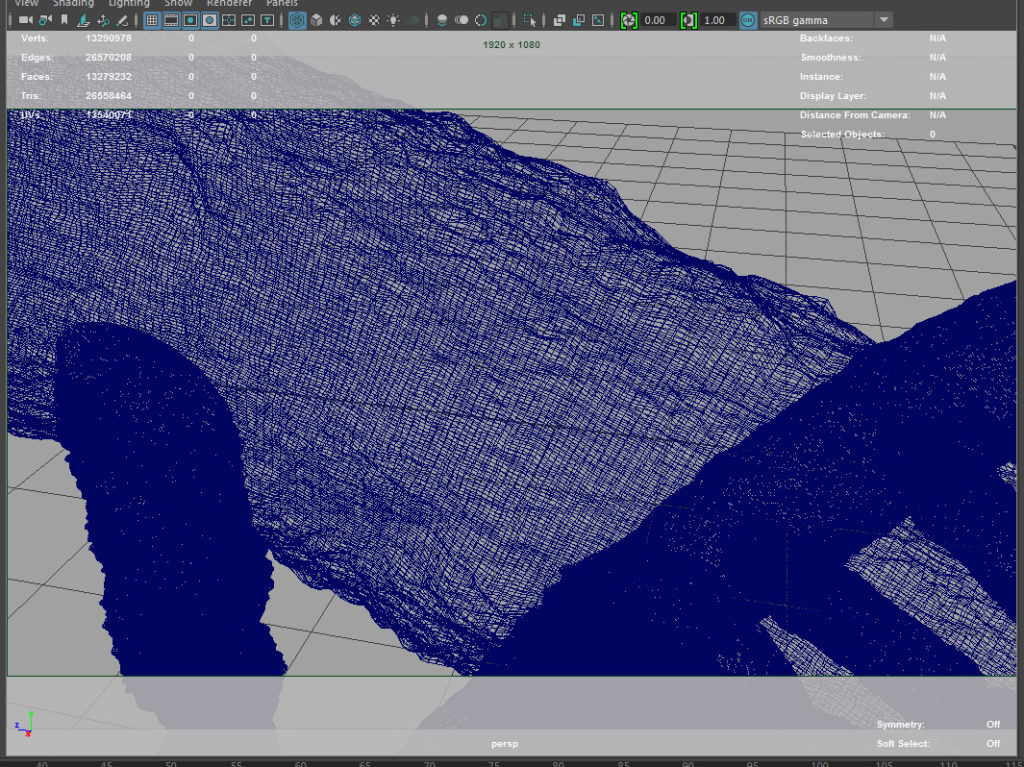
After some hours of sculpting , I started to paint to texture using a background color and second layer using a dry-brush tool to give life to details.
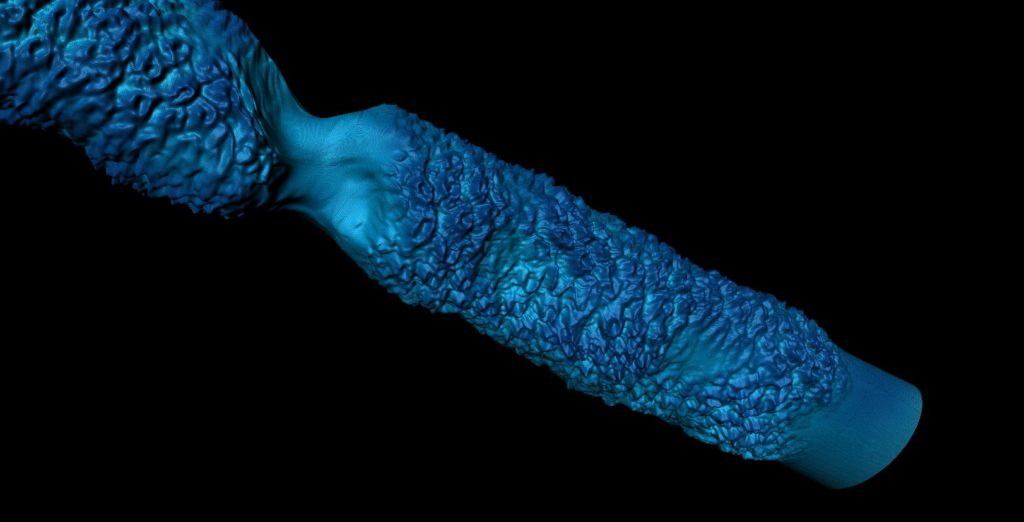
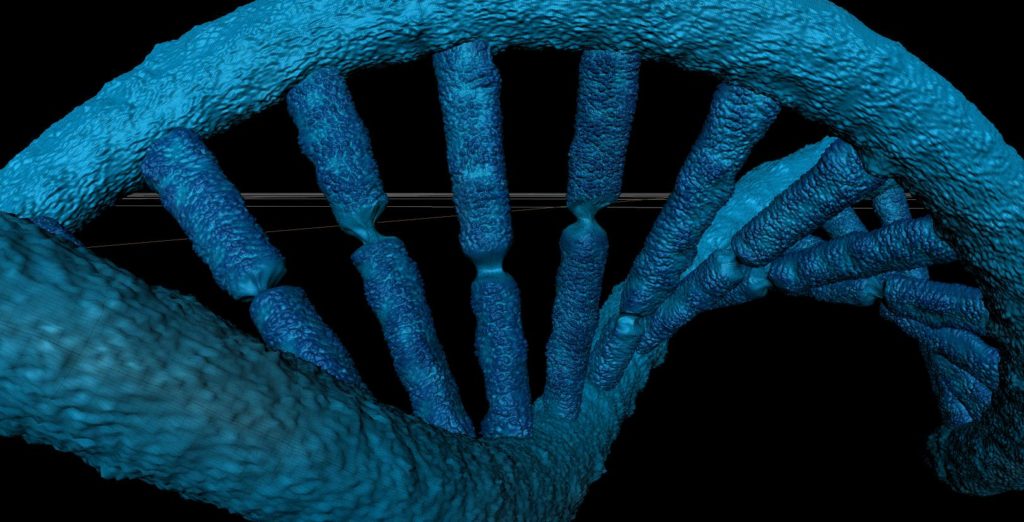
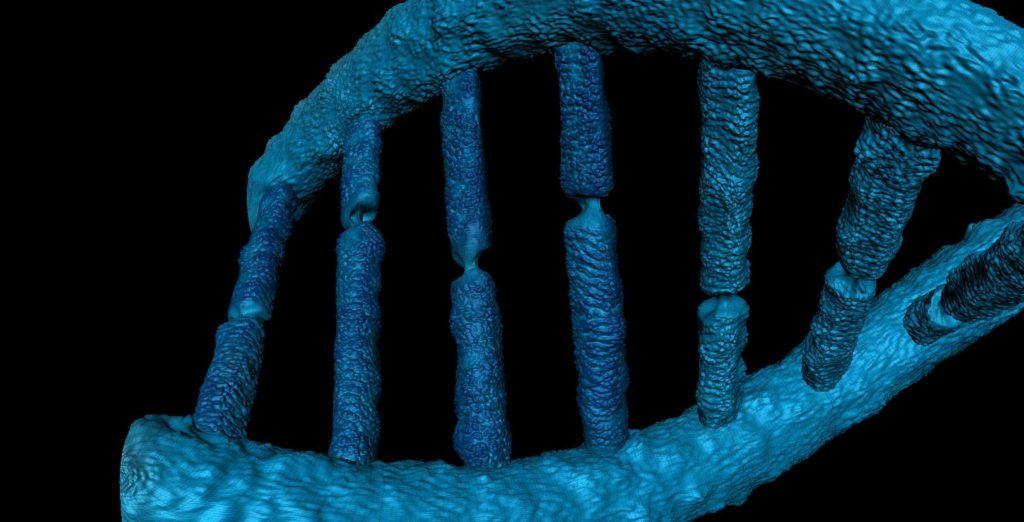
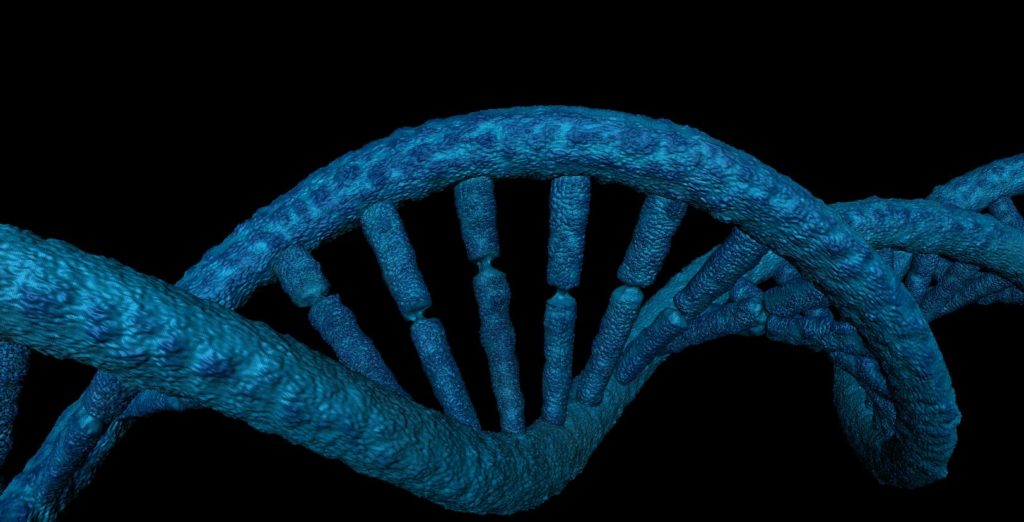
For animation or slow workstations uses I suggests to extract normal maps to a low poly version to avoid lacks or slow performance.
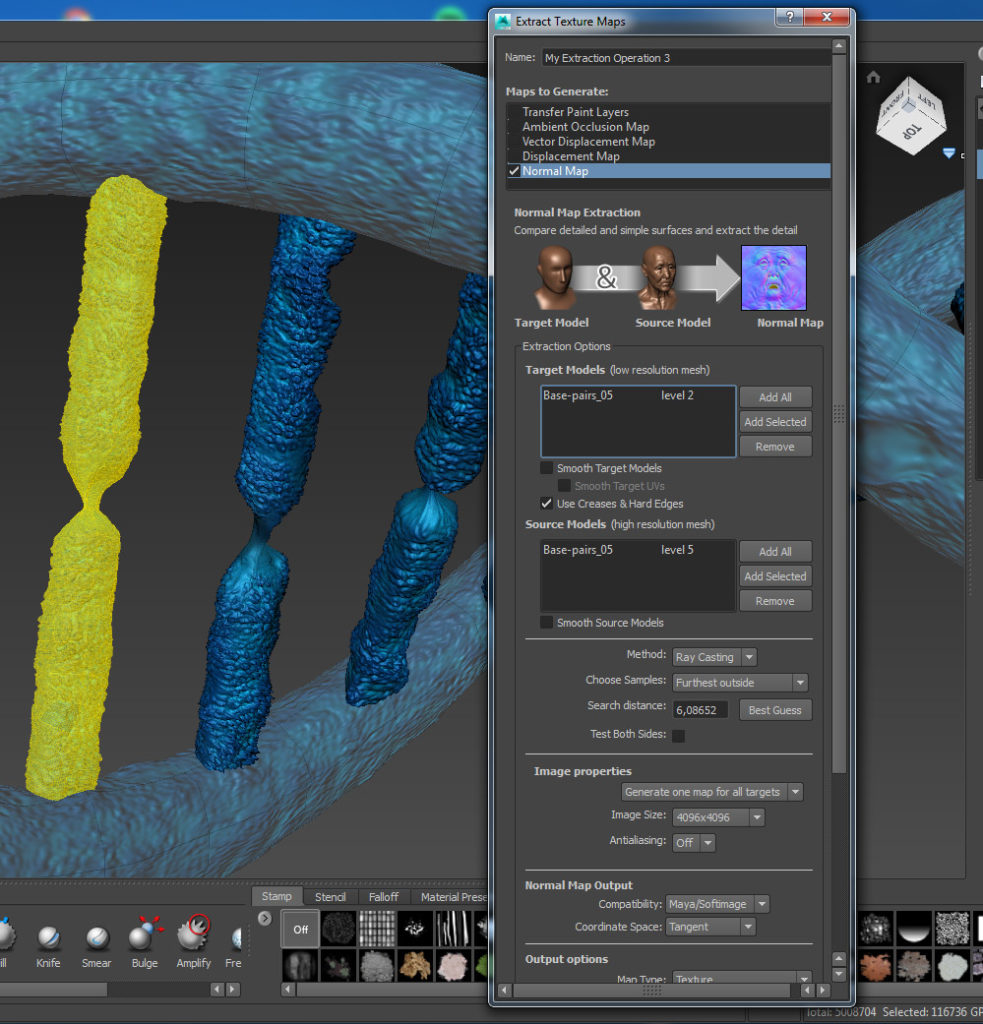
After that send back the model to Maya and I setting-up the lighting and render setting.
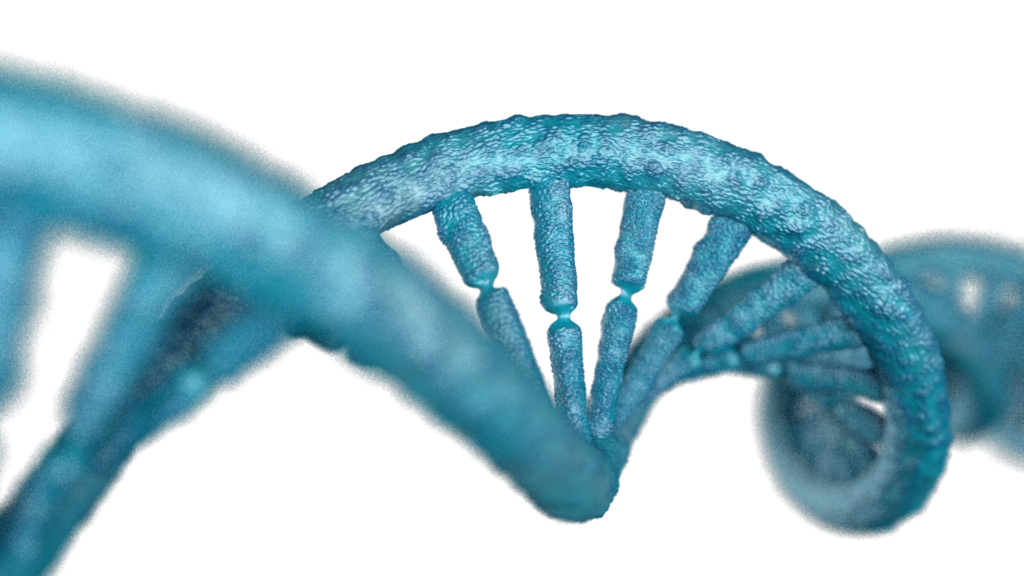
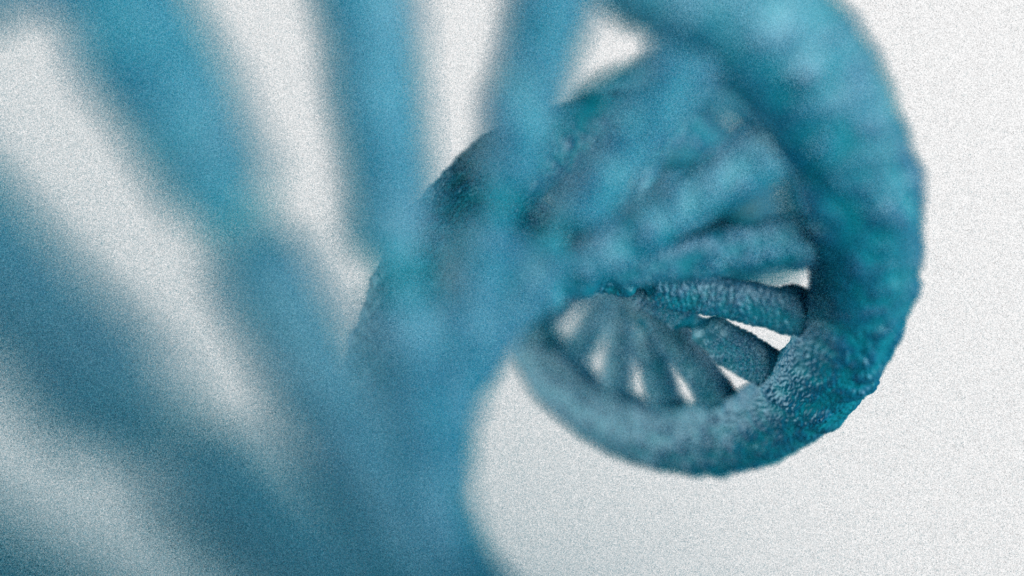
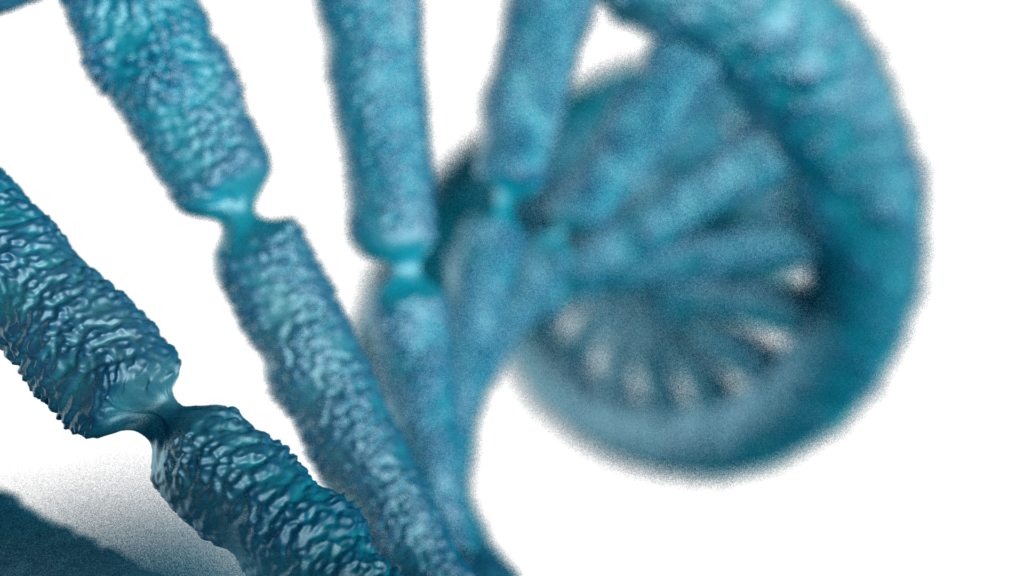
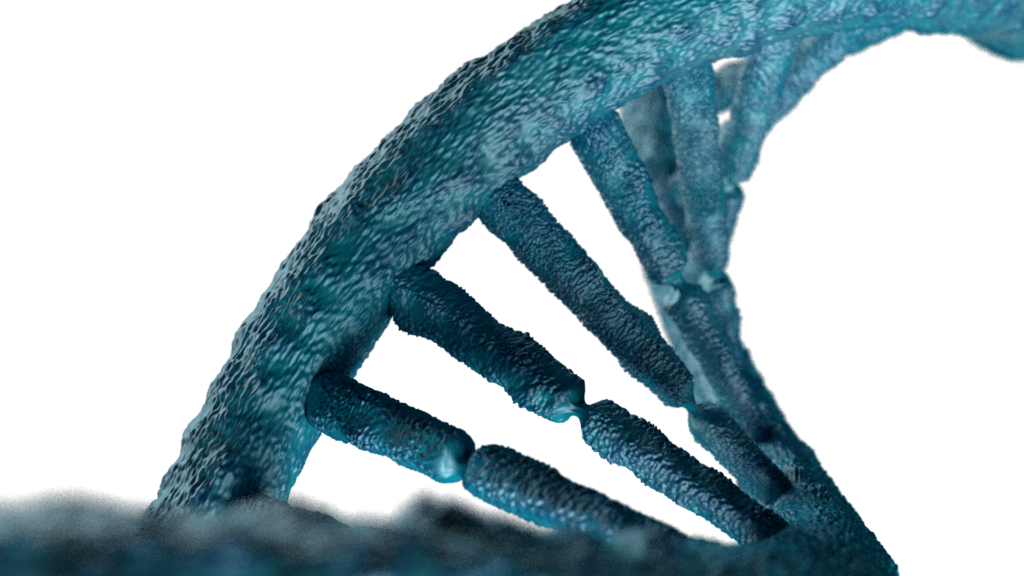
That’s the result :
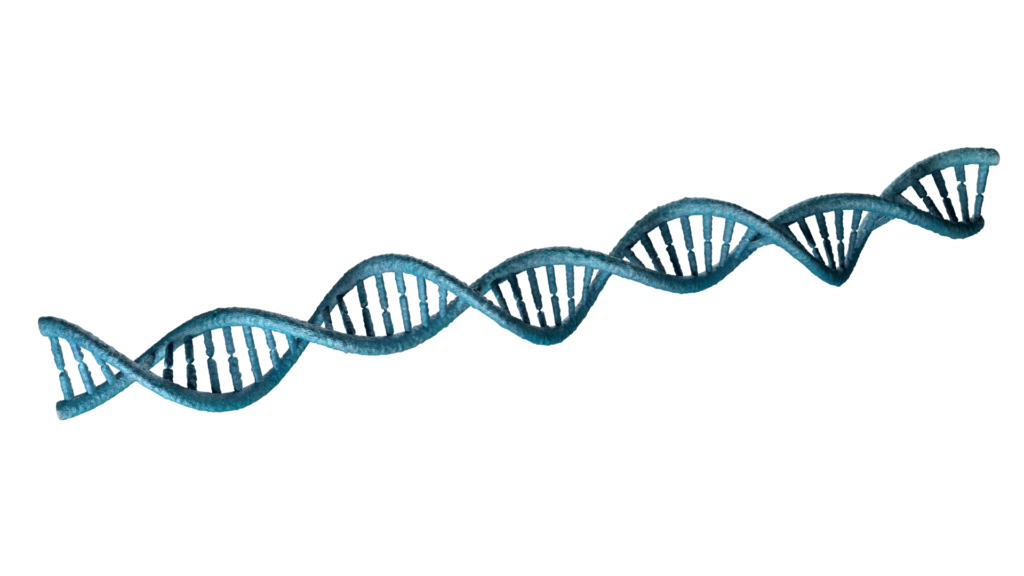
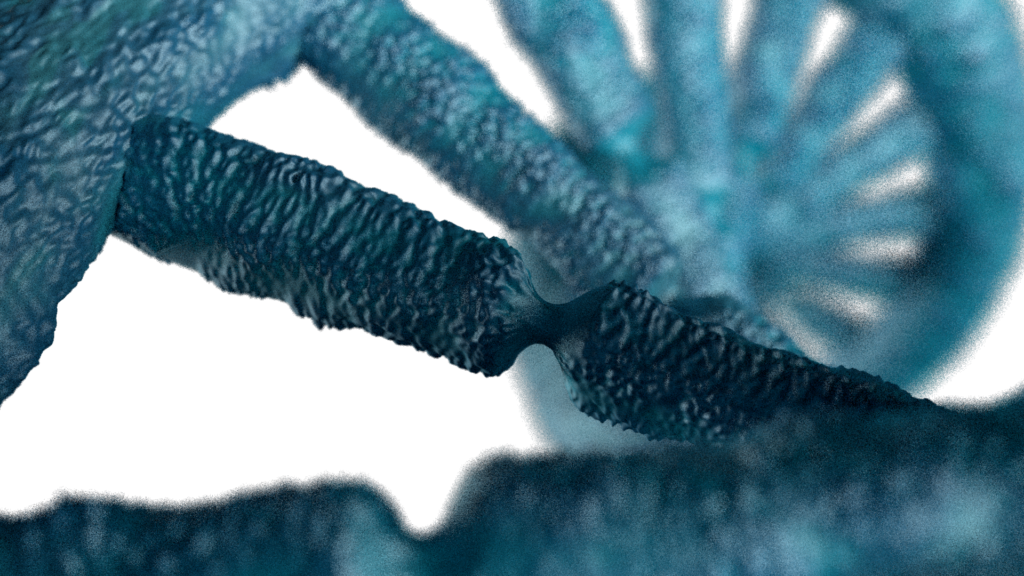
Hope that you like it.
Feel free to leave a comments or questions
1 Comment
invigorating massage · January 7, 2018 at 8:05 am
Thank you for publishing this awesome article. I’ve been reading for a while but I’ve never actually left a comment.
I’ve bookmarked your website and shared this on Facebook.
Thanks again for a really good article!